How to Use a Mini Drill for DIY Projects and Home Improvements?
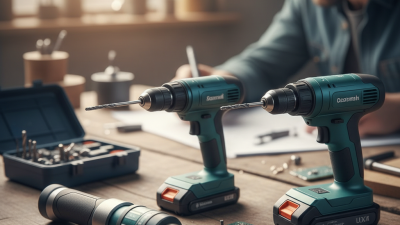
A Mini Drill is an essential tool for DIY enthusiasts and homeowners alike. It offers precision and flexibility in various projects. Whether you're adding new fixtures or repairing furniture, a Mini Drill can greatly assist in achieving better results.
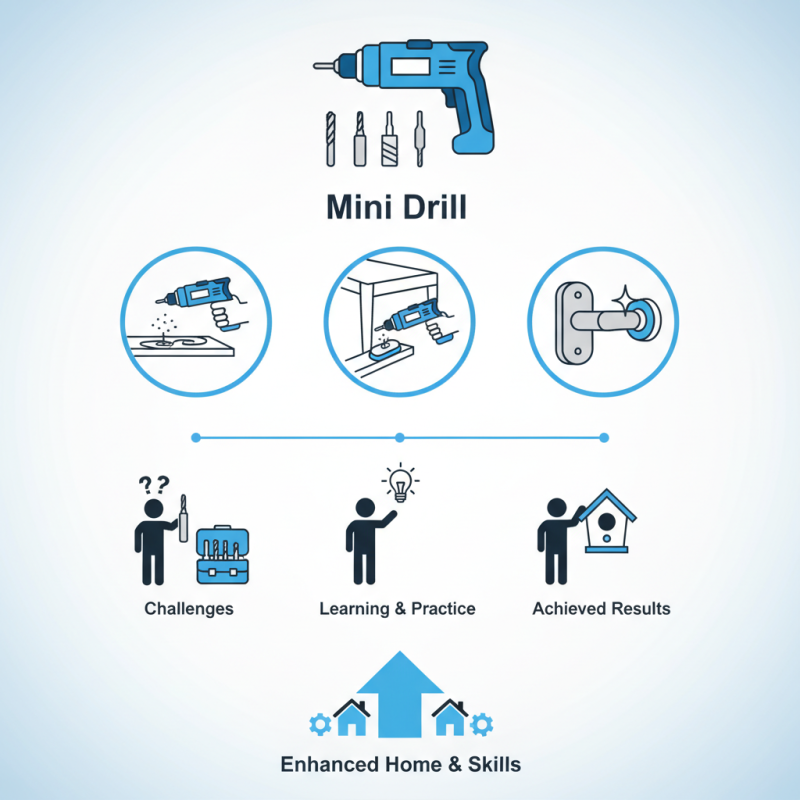
Using a Mini Drill effectively requires practice. You may encounter challenges like incorrect drill speeds or choosing the wrong bit. These mistakes can lead to frustration. However, learning from these experiences can refine your skills. With each project, you become more comfortable with your Mini Drill and its capabilities.
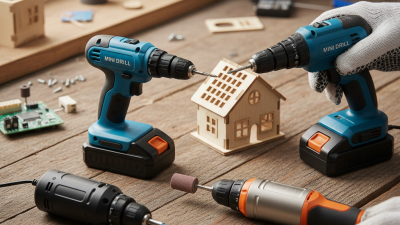
The versatility of a Mini Drill allows it to be used for tasks such as drilling, sanding, and polishing. This adaptability makes it a reliable tool for home improvements. Thus, embracing your Mini Drill not only expands your DIY skills but also enhances your home environment. As you become more adept, the satisfaction of completing projects grows, making each experience rewarding.
Choosing the Right Mini Drill for Your DIY Needs
When choosing the right mini drill for your DIY projects, consider your specific needs and tasks. Mini drills come in various sizes, features, and power levels. You’ll need to identify what you plan to use it for, whether it’s for drilling, sanding, or polishing. Think about the materials you’ll work with, such as wood, plastic, or metal. This helps narrow down your choices effectively.
Battery-operated models offer portability, making them ideal for home improvements. However, corded versions generally provide more power for heavier tasks. Look for models that come with a variety of attachments, enhancing their versatility. Comfort is also key; a lightweight design reduces fatigue during long projects. Sometimes, adjusting your grip or stance can make a big difference in handling.
Remember, no drill is perfect for every task. It's essential to reflect on your skill level and project complexity. Beginners may find multi-functional tools easier, while experienced users might prefer specialized drills for specific jobs. Test out different models before making a final choice. Quality matters, but real-world use often reveals flaws. Seek feedback from trusted sources or other DIY enthusiasts for insight.
Essential Attachments and Accessories for Mini Drills
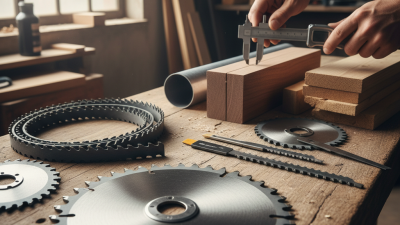
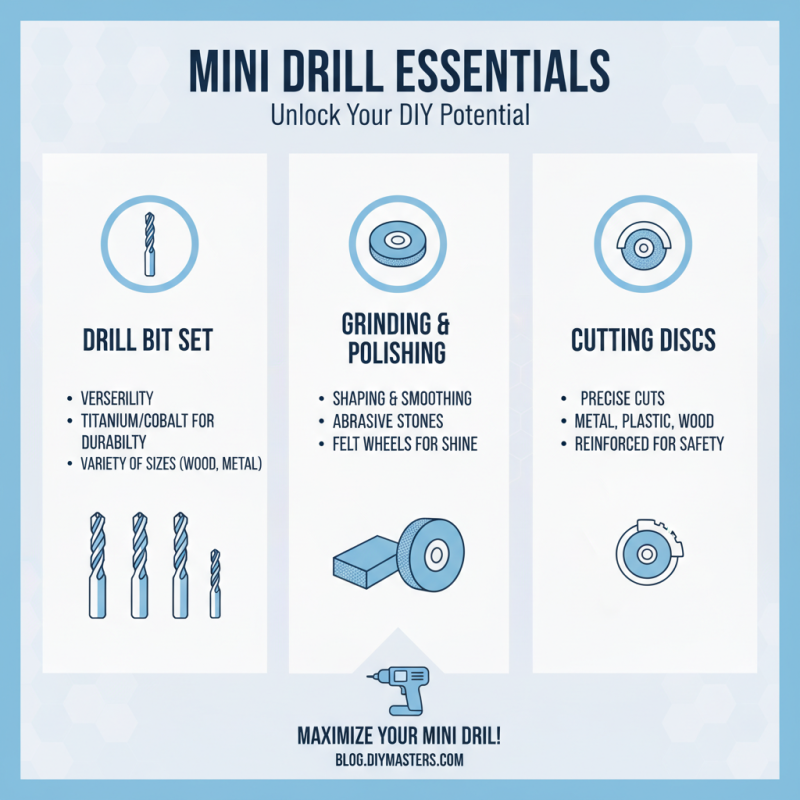
When diving into DIY projects, a mini drill is invaluable. To maximize its potential, choose the right attachments. A versatile drill bit set is essential. Generally, titanium or cobalt bits offer durability and precision. Experts recommend starting with a variety of sizes to handle different materials, from wood to metal.
Specialty attachments can enhance functionality. For instance, sanding drums are perfect for smooth finishes on surfaces. A suitable wire brush attachment is excellent for cleaning rust or old paint. According to industry data, using the right attachments can reduce project time by nearly 30%. Also, keeping attachments organized ensures efficiency in any project.
A well-selected accessory kit is crucial. Many DIY enthusiasts overlook the importance of depth gauges and depth-stops. These can prevent mistakes while drilling. However, it's easy to find yourself with too many attachments that never get used. Regularly assessing your tools can save space and improve your workflow.
Basic Safety Tips When Using a Mini Drill
When using a mini drill, safety is paramount. According to the U.S. Consumer Product Safety Commission, over 60,000 injuries related to power tools are reported yearly. Mini drills are commonly used for various home projects, which makes it crucial to understand their risks. Always wear safety goggles to shield your eyes from flying debris. A simple mistake can lead to injury; protecting yourself should be the first step before any DIY project.
Another essential safety tip is to secure your workpiece. Clamping it down prevents movement, allowing for more control. The American National Standards Institute reports that improperly secured items contribute to a significant number of accidents. Furthermore, consider using gloves to enhance grip while keeping your hands safe. However, be cautious: gloves can also get caught in rotating parts. Each user must balance protection with practicality.
Lastly, be aware of the drill’s condition. Regularly inspect the cord, plug, and bit for signs of wear. A worn drill can malfunction and cause accidents. Research indicates that 30% of accidents occur due to equipment failure. This emphasizes the importance of maintaining your tools in optimal condition. Taking these precautions will create a safer DIY experience.
How to Use a Mini Drill for DIY Projects and Home Improvements? - Basic Safety Tips When Using a Mini Drill
| Safety Tip |
Description |
Usage Example |
| Wear Protective Gear |
Always wear safety glasses and a dust mask to protect your eyes and lungs. |
Drilling into wood can create dust particles. |
| Secure Your Workpiece |
Use clamps or a vise to hold the material securely in place while drilling. |
When drilling metal sheets, secure the sheet to avoid movement. |
| Check the Drill Bits |
Ensure that the drill bits are sharp and not damaged before starting your project. |
A dull bit can slip and cause injury. |
| Practice Proper Posture |
Stand or sit ergonomically to reduce strain on your body while using the drill. |
Avoid leaning over too far when working on low surfaces. |
| Unplug When Changing Bits |
Always unplug the drill before changing the bits to prevent accidental activation. |
Switching from a hole saw bit to a sanding drum should be done safely. |
Step-by-Step Guide to Common DIY Projects with a Mini Drill
A mini drill is a versatile tool perfect for a variety of DIY projects. With its compact size, it can tackle both simple and complex tasks. Common uses include drilling holes, sanding surfaces, and polishing materials. According to industry reports, over 65% of homeowners engage in DIY projects, making mini drills a popular choice. They are essential for home improvements, adding value and personalization to your space.
To maximize efficiency with a mini drill, precision is key. Always start with the correct drill bit size. Misjudging size may lead to stripped screws or damaged materials. When sanding, use a gentle touch. This will prevent overheating and prolong the lifespan of both your tool and the material being worked on.
Tip: Practice drilling on scrap material before moving to your project. This builds confidence and helps refine your technique. Remember, every project can present challenges. Many inexperienced users encounter stripped screws or misaligned holes. Recognizing these issues fosters growth and learning. Adapt your approach, and embrace the journey of DIY creation.
DIY Projects Completed Using a Mini Drill
Maintenance and Care for Your Mini Drill to Ensure Longevity
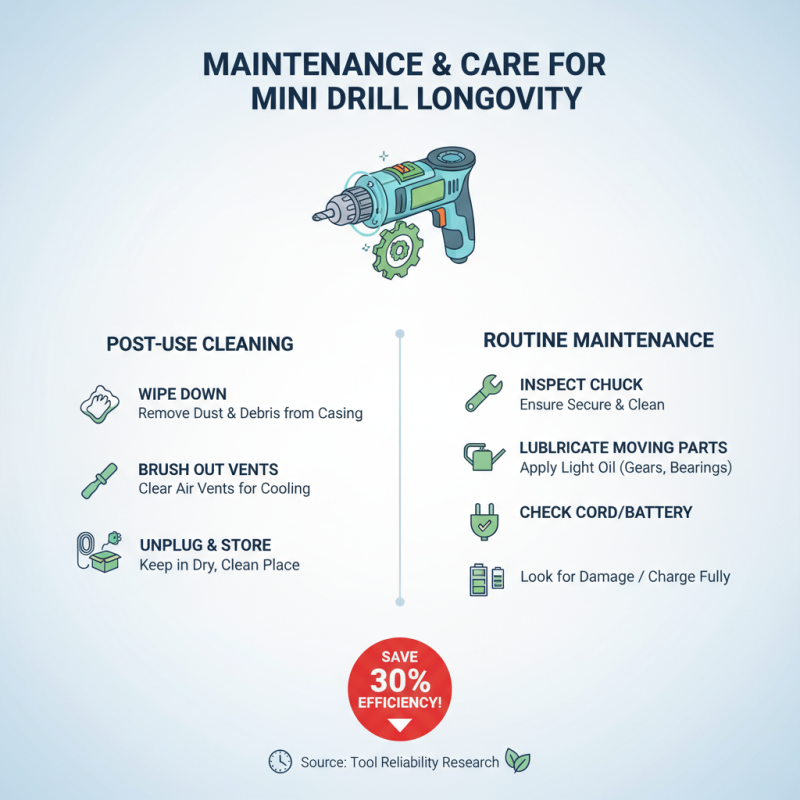
Keeping your mini drill in top shape is essential for successful DIY projects. Regular maintenance can extend the tool's life significantly. According to a report by Tool Reliability Research, lack of proper care can reduce tool efficiency by up to 30%. Simple cleaning after each use removes dust and debris, which can hinder performance.
Check the drill bits frequently. Dull bits can cause overheating and excessive wear on the motor. Studies show that a well-maintained bit increases cutting efficiency by 40%. Avoid using the drill under heavy load and allow it to cool down after prolonged use. This practice reduces the risk of overheating, which can diminish the drill's lifespan.
Battery maintenance is crucial for cordless models. Keeping batteries charged and avoiding extreme temperatures can prevent 50% of battery-related issues. If you notice a decline in battery life, it's time for recalibration. Pay attention to any unusual noises, too. They might indicate an underlying issue. By prioritizing care and maintenance, your mini drill can remain a reliable tool for your projects.